How to repair mortar joints?
It’s always crucial that you hire a professional to do this work, search your local area for a brick-mason, or mortar repair specialist. However, we know that sometimes hiring a pro isn’t possible for many reasons, so below is a quick guide on repairing your mortar joints until a pro can come in and do it. Repairing mortar joints is essential maintenance that helps prevent water damage and structural issues.
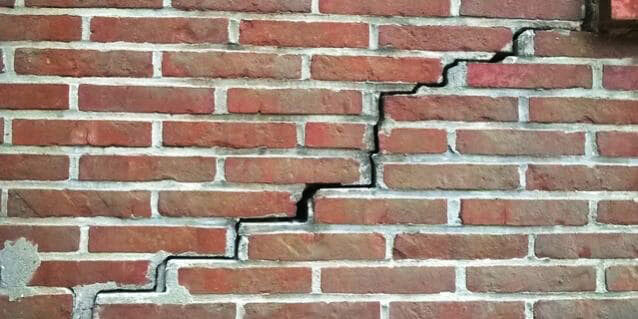
- Inspect the Mortar Joints
Before you begin repairing the mortar joints, it’s important to assess the overall condition of the masonry. Check for any signs of damage, cracks, or loose bricks. Consider taking photos of the area to track your progress throughout the repair process.
- Remove Old Mortar
Remove the damaged mortar from between the bricks or stones using a hammer and chisel. Be careful not to damage the bricks or stones. You can also use a rotary tool with a masonry bit for this task. The depth of the mortar groove should be approximately ¾ of an inch.
- Clean the Joints
Remove any debris, dust, or loose mortar from the joints using a stiff-bristle brush or a vacuum cleaner. This will ensure the new mortar adheres properly and strengthens the bond.
- Mix New Mortar
Choose the appropriate mortar mix based on the type of masonry you’re working with. Based on their compressive strength and other properties, mortar comes in different types, such as Type N, Type S, or Type M. Refer to the manufacturer’s instructions for mixing it.
- Wet the Joints
Before you start applying the new mortar, dampen the joints with water. This will prevent the moisture from the new mortar from being sucked out too quickly, which can cause cracking.
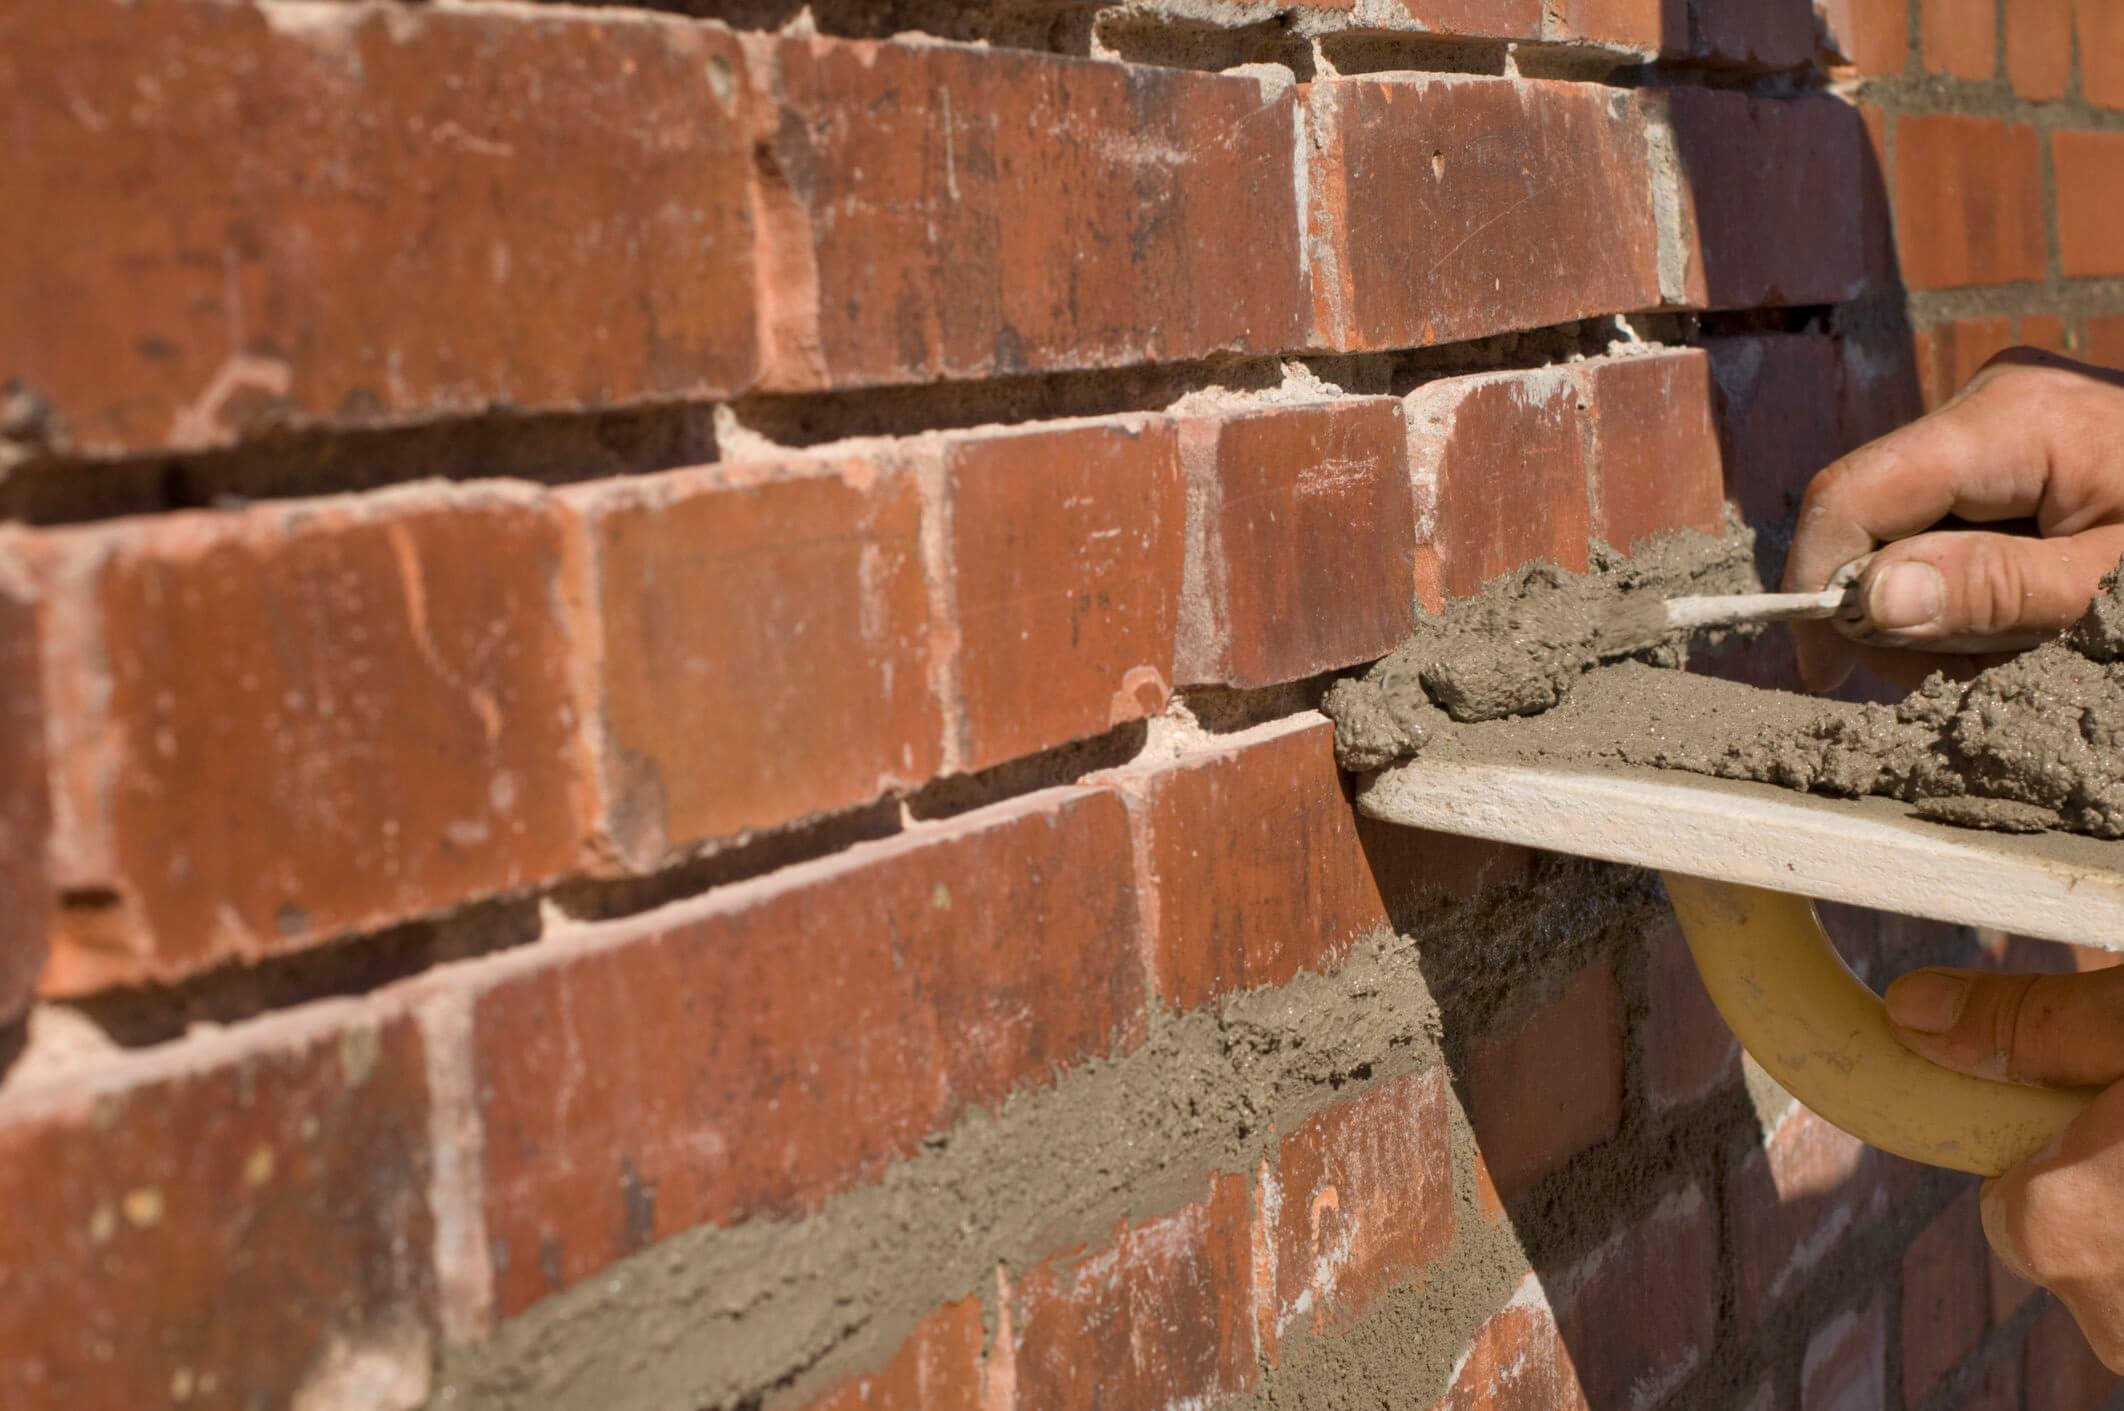
- Apply the New Mortar
Using a trowel, apply the new mortar to the joints. Push the mortar down into the joint with a pointing tool or the end of the trowel. Continue applying the mortar until the joint is full.
- Tool the Joints
After you’ve applied the new mortar, use a jointing tool to shape the surface of the mortar. This will create a professional finish and ensure water runs off the surface rather than pooling in the joints. You can choose different jointing tools to create different textures, such as concave, V-shaped, or grapevine.
- Cure the Mortar
After applying and tooling the mortar, cover the area with a plastic sheet or damp burlap. This will prevent the mortar from drying out too quickly and cracking. Allow the mortar to cure for at least 24 hours before removing the covering.
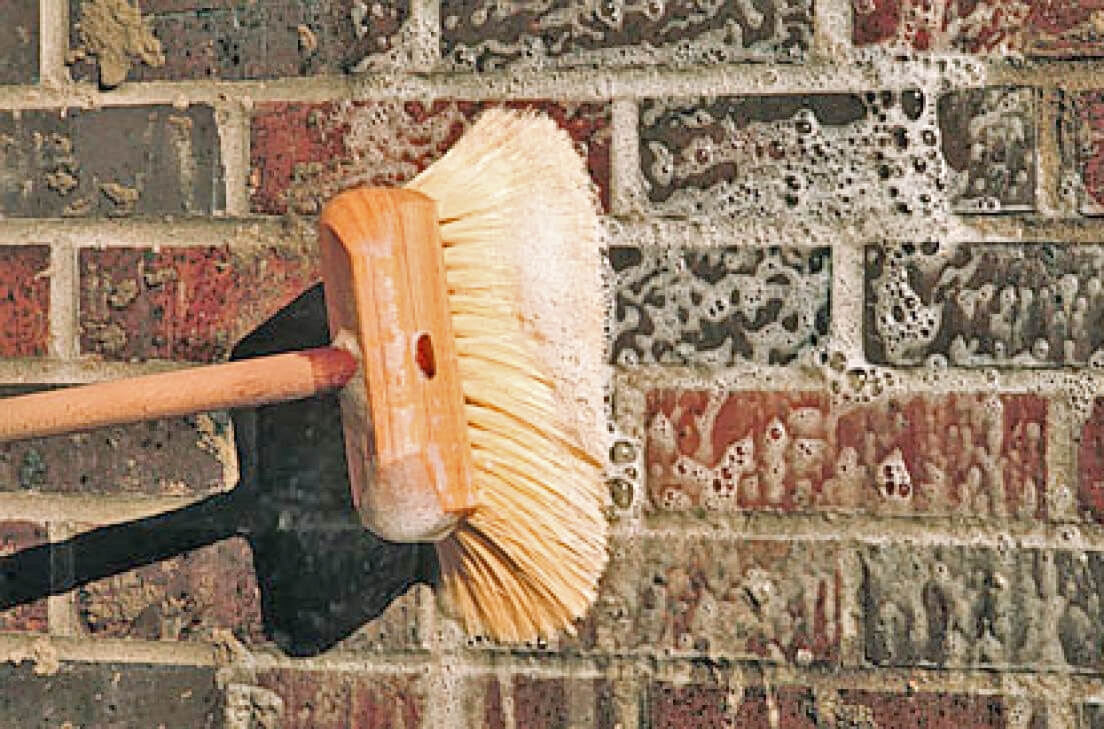
- Clean Up
Once the mortar has cured, use a brush or damp cloth to remove any excess mortar from the surface of the masonry. Be careful not to damage the newly repaired joints.
- Apply a Sealant
Applying a sealant over the newly repaired mortar is a good idea to protect it from moisture and the elements. Depending on the type of masonry, you can choose between sealants such as silicone, polyurethane, or acrylic. Follow the manufacturer’s instructions for applying the sealant.
Repairing mortar joints is important to maintaining your masonry’s structural integrity and appearance. Following these steps, you can repair damaged joints and prevent further damage. Remember to take your time and be patient, as this process requires attention to detail and precision. We always recommend a professional first – check your area for local brick masons and mortar joint repair specialists.